Yesterday, I dug a little deeper into the world of real, homemade food. Somewhere I honestly would have never thought to go before.
I’m pretty sure I made… yogurt.
I mean, yogurt is kind of one of those things that you just assume you need to buy from the store. But from the various sources I came across showing how to accomplish this seemingly un-doable task, I determined it was worth a shot. I love fresh, good-quality yogurt. There’s this amazing little local dairy that sells tubs of the stuff at my farmers’ market, but at $6 bucks a pint, it’s a little rough on a starving blogger’s wallet.
Buying from the store isn’t much better, price-wise. But aside from that, store-bought yogurt tends to be loaded with refined sugar and other fake stuff, especially the non-organic kind. In just one of those single-serving cups of Yoplait, for example, you get a whopping 27 grams — five teaspoons– of sugar! Much of it in the form of high-fructose corn syrup. You’ll find gobs of that, in addition to artificial coloring, GMO corn starch, chemical vitamins and preservatives, not to mention the fact that the milk from which the yogurt is made comes from a CAFO dairy, to be sure. With all these reasons to stray from conventional yogurt, I knew it was time to find a better alternative.
So, into the realm of breeding beneficial bacteria I went. I decided I would try for the “cooler method” of yogurt making. It sounded like a great way to start — no special equipment or cultures to buy, minimal effort required, and I already had everything I needed in my kitchen. This included:
- A little bit of already-made yogurt (we’re talking, a couple tablespoons, to use as a starter culture.)
- Some milk
- A glass jar (re-purposed from a spaghetti sauce jar. I recommend making a habit of compulsively hoarding any glass jars you come across.)
- A pot
- A towel
- A picnic cooler
- A thermometer (technically optional, and technically should be a candy thermometer, but I used a meat one.)
I began my mission. Follow along, if you dare!
First, I needed to make sure the jar, and any tools I would be using that would touch the milk and yogurt starter, were super-clean. We’re going to be intentionally multiplying (good) germs here, and you don’t want any “bad” bacteria taking over.
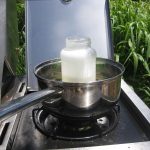
Next, I filled a pot with water, and brought it to a boil over my semi-stove (read: gas burner on the BBQ outside, since I still have to wait 3 more weeks for our oven range to get here from the mainland). It would be best to use a large pot deep enough to match the length of your glass jar, but since I’m poor and a big wuss, I was only committing to half a jar of yogurt-to-be, so I used a shallower one. Don’t be me. Be brave, do a full jar (do multiple jars!), and get a big pot. Guaranteed, your milk isn’t nearly as expensive as mine anyway, unless we’re neighbors!
I then put a dish cloth in the pot, to provide a little cushion for the jar of milk I was about to set inside. Filled the jar halfway with milk (use the best quality milk you can find — for me, this was minimally-pasteurized, unfortunately homogenized, local, organic FULL fat milk), and stuck it in the pot, turning the burner down some.
Most of the resources I found were telling me to heat the milk up to about 185 degrees, to sterilize it. Now, I’m ALL for raw dairy, but in this case, the milk I was using was already pasteurized, so I figured, better to follow the directions and just heat it up. So, into the pot it went.
After a few minutes, I checked the temp with my thermometer, and found it had reached close to 185. The milk also developed a little bit of a film on the top, so I would say that if you don’t have a thermometer, look for that sign.
I took the milk jar out and allowed it to cool down for about an hour or so — apparently you want it to get down to around 100 – 110 degrees F. So, without the thermometer, this would equate to: still pretty hot, but won’t burn you if you flick a little drop onto your wrist.
Here is where I messed up, though. The bit of existing yogurt you want to use as a starter, should be stirred in after the milk has already cooled down — not right after you take it out of the boiling water! Oops. I thought for sure I must have killed off the culture — these are rather delicate, live organisms we’re dealing with, after all. You want to use about 2 tablespoons of starter yogurt per quart of milk, gently stirred in, just before you begin incubating. Despite my mistake, however, I wasn’t about to give up on this project.
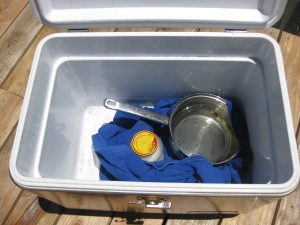
So next, it was time for my little jar to snuggle up with the pot of water inside the cooler. I put the lid back on the jar, set up a nice, comfy towel in the cooler, boiled the water in the pot again, then tucked everyone inside for the night.
And that’s about it.
You can incubate the yogurt for anywhere from 4-24 hours — I put mine in at about 6pm last night, and took it out at 10 this morning.
I was nervous.
Would it be nothing more than a jar of wasted milk having been left out out on the deck all night? Was that little tablespoon of starter really enough to multiply and magically transform the milk into something else? Would it in any way resemble my delicious, favorite farmers’ market yogurt?
Indeed it did!
I read that there were a few things to look out for to see if you took any wrong turns — most importantly, the milk-turned-yogurt shouldn’t have any sort of a funky smell, as this would indicate you bred some bad germs in there from things not having been properly cleaned. My yogurt didn’t!
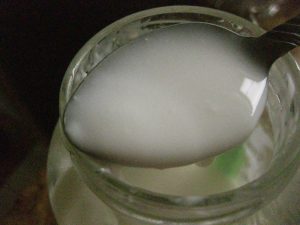
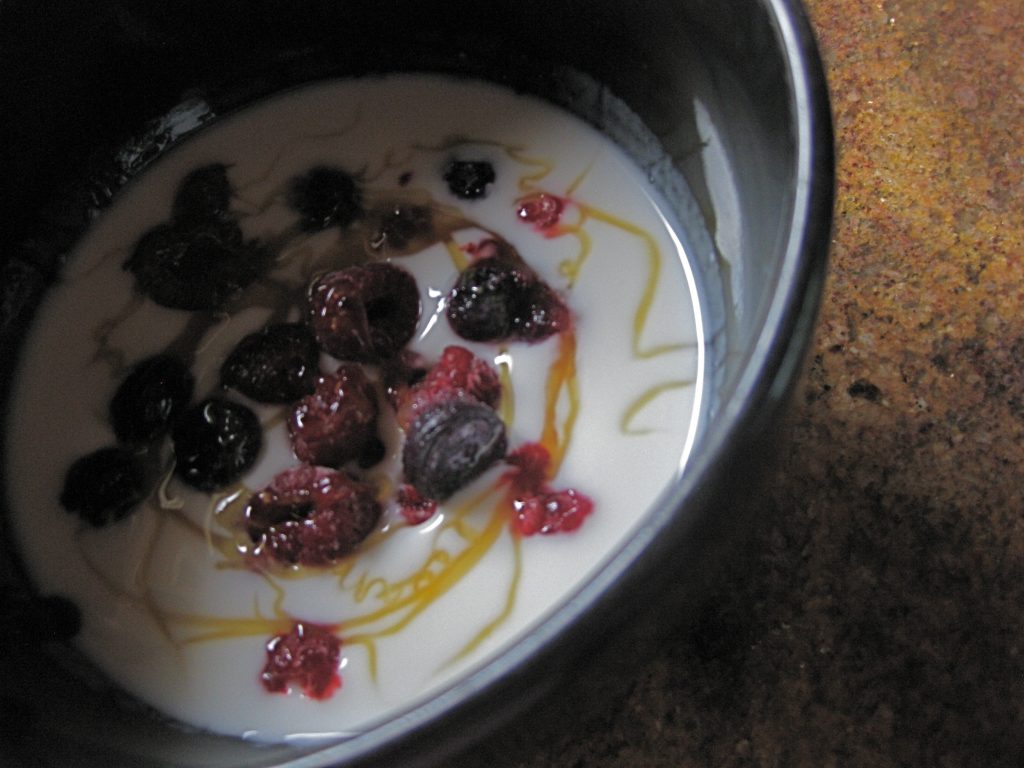
I stuck a spoon in there and swirled it around — it was a little runny, but this was no plain old milk anymore! It had almost the same consistency as my good farmers’ market stuff.
I went in for the taste test.
Tangy! Yogurt-like! Definitely not very sweet, like you’d be used to if you mostly buy flavored yogurt from the store, but remarkably similar to the taste of plain!
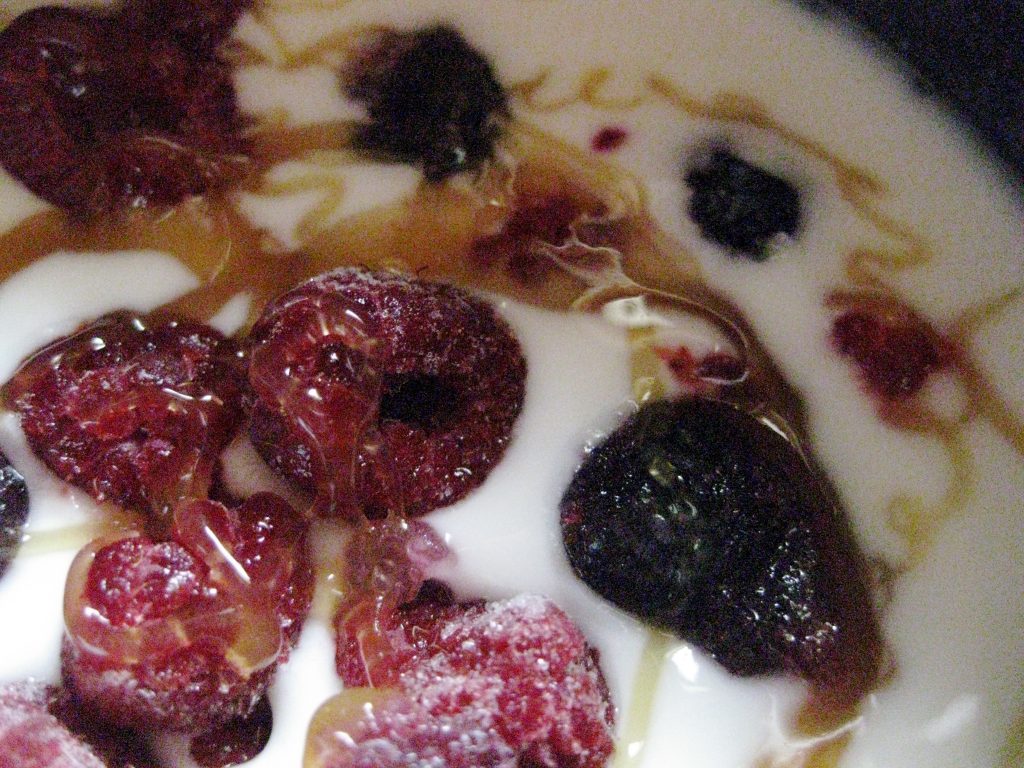
I put it in the freezer for one hour, as I had read that this can help improve the consistency and texture. Upon taking it out and taste-testing again now that it was cold, I was still relatively convinced that this was real, actual yogurt!
I think I’ve done it, guys. It wasn’t too hard, I even screwed up a bit, but it turned out okay! No one’s gotten food poisoning (yet), and I think I can safely recommend that you try this.
I’m feeling pretty proud of myself. I might even be convinced enough to keep making my yogurt, and stop buying it at $6 a pint when I can DIY-it for about $6 a half gallon (price of milk if you go to the cheap store). Of course, if you live in a place in which food can be acquired at relatively reasonable, sane prices — unlike myself– you’re mileage will be even better.
And so, I challenge you!
Will you be daring enough to delve into the world of homemade yogurt? If you are, you gotta let us know how it goes. And please report back with any tips and tricks you might have to making this process even more Emily-proof.
Yogurt-believers, unite! 🙂
{This post is linked to Works for Me Wednesdays!}


Yay for homemade yogurt! I make my own all the time (I use a yogurt maker), and let it ferment for at least 24 hours… eats up all the lactose that way, and mo’ better bugs.
You’ll notice that yogurt will taste differently depending on the starter you use. Different starter yogurs will equal differences in thickness, tartness etc of your yogurt. Experiment and have fun! My fave so far has been a goat milk yogurt, using a sheep’s milk yogurt as starter (I have a really, really great farmers market nearby). It comes out thin and tart, and I drink it out of a bowl. Num.
Another thing to try… drip the yogurt, and you’ll have 1) yogurt cheese and 2) whey. Basically put about 2 cups or so in a cheesecloth-linesd strainer over a bowl, letit sit at room temp, and let it drip for an hour or two, then tie the cheesecloth ends together and hang the bundle over the bowl using a wooden spoon til all the dripping is done. Yogurt cheese is like cream cheese (but tarter), and you can use the whey to lacto-ferment veggies.
Awesome!! Thanks for the tips, Tracy! I am totally going to try making yogurt cheese and whey (I think I remember reading about that process in Nourishing Traditions!) and I also will definitely experiment with the starters!
I even may have goat milk coming my way by next year — in an upcoming post, I’ll be introducing everyone to our little friend, Goatie the practice dairy dwarf. She is currently a very adorable lawnmower but I am hoping her owner who is loaning her to us will allow her to be bred soon. Goat yogurt, here we come!
Yes, I’ve made yogurt this way in the past: heat up the milk to 100 – 110 degrees, stir well a generous spoonful of yogurt in the jars, and place the jars in a “koozie”: zippered insulated lunch container and wrap a towel around the jars and wait until overnight. Not as thick as the store bought yogurt (they use gelatin) more like kefir but one has a lot more control over what goes into their body this way by making their own.
Ah, I was wondering if heating it up to only 110 degrees would suffice! I thought, if that’s what we’re cooling down to, why not just stop heating it at that temp? I will try that next time. Do you not add anything else to insulated container to keep it warm (like the pot of boiled water I put in my cooler)?
I’m impressed! I’ve just recently discovered I love plain yogurt (loaded with homemade toasted muesli, chia seeds, ground nuts, grated apples, bananas, berries, etc.) so I’m excited to make my own eventually!
You really should! It’s like an instant self-esteem boost. I mean, who seriously makes yogurt these days? Made me feel like the superest Suzy Homemaker ever!! 😀
Oh you can place upright a capped jar of boiled water to raise the temperature inside the koozie. I knew someone 30 yrs ago who used to use the warmth of the inside of his gas oven produced by the pilot light (obviously a VERY old oven) to create the ideal heat to ferment the yogurt AND for sprouting. Every so many times a day, he’d rinse the seeds, drain and lay the jars on their sides and in a few days, sprouts. He had these perforated caps that would screw on the mason jars but I’m sure one can make perforated caps on their own by punching some drainage holes in a lid.
Oh I see. Wow cool, that should really be my next adventure — sprouting! I’m feeling inspired. Thanks for the help Susan!
Good for you! Isn’t making yogurt fun? I’ve been making it for a couple for years now, but just got around to posting about it last week. Heating to 185 is important if you are concerned about the sterility of your pastured milk or if you are going to be using an heirloom starter with raw milk (heirloom starters – where you can use this batch to make your next batch… forever -like sourdough).
It sure is!! Ohh, interesting… so using a yogurt starter like I did would necessitate the heating to the point of sterility, then? I’ll have to keep that in mind!
I make my own yogurt with Trader Joes halfnhalf it is pasturized but organic. I heat it to scald milk on my candy thermometer then cool before adding starter( take some of the cooled cream and add to your small bowl of starter before adding to the large jar you are working with)Then add jar covered with paper napkin and rubber band to your oven with oven light only, overnight or 24 hours!
The raw milk in our area is just too expensive so I use that for drinking only. I just found this site! I really like it!
Jean
Great post. Since I always hated all things milky (unless they were very aged or full of sugar, like ice cream or aged cheese). I was very skeptical about starting my own yogurt. They always tasted rancid to me, and actually made me throw up.
I kept in mind a quote from my old boss from Romania, “Milk left out doesn’t go bad – it just turns into something else!”
Well, milk can go bad of course, but since we started using full fat raw milk my whole world of dairy appreciation has changed! Here’s how we do yogurt:
http://theliberatedkitchenpdx.com/recipes/yogurt/
So I made my first batch of homemade yogurt this week, and it made me feel like a superhero-homemaker. I proclaimed proudly to my husband over the next few days that, “I made yogurt!”
I have a question: you say that it shouldn’t smell “funky” which seems obvious…but is it ok if it smells like yogurt? That seems like a silly question, but to me yogurt does smell a little “funky”…you know, fermented? So, I’m assuming yogurt smell is ok, but that the yogurt would really let you know if it was no good.
That’s a good point — healthy yogurt smell is a little funky, now that I think about it! And most people are used to eating flavored yogurts with a high sugar content, that don’t smell like real yogurt at all. Unless it smells bad or unappetizing to you, it’s usually fine. If you’re still not sure, give it a little taste. I agree that the yogurt would let you know if it was a bad batch!
Now go on with your superhero-homemaker self and have some funky-good yogurt you made with your own two hands! 😀 (I totally walked around for days gloating over my yogurt-making skills after my first batch too, haha!)
Howdy! I know this is kinda off topic however I’d figured I’d ask.
Would you be interested in exchanging links or maybe guest writing a blog article or vice-versa?
My site covers a lot of the same topics as yours and I believe we could greatly benefit
from each other. If you might be interested feel free to shoot me an
email. I look forward to hearing from you! Wonderful blog by the way!